m (clean up, typos fixed: sucession → succession) Tag: apiedit |
(I added a link to the Crystalline Resurgence page) Tag: Visual edit |
||
| (18 intermediate revisions by 4 users not shown) | |||
| Line 5: | Line 5: | ||
After defeating all crystalline [[:Category:Boss|boss]] monsters, the [[Old One]] appears and must be defeated in order for the heroes to reunite with their [[parents]]. |
After defeating all crystalline [[:Category:Boss|boss]] monsters, the [[Old One]] appears and must be defeated in order for the heroes to reunite with their [[parents]]. |
||
| − | Each legendary hero must be |
+ | Each legendary hero must be rescued in succession. All four stages take place in different areas where you will need to build new defenses; if you fail at any point of this event you must restart from the beginning. |
| − | ==Access== |
||
| ⚫ | Players can access the Crystalline Dimension through a portal in the |
||
| + | The map is unique with how lives work. When not played on hardcore, you will have 8 lives to work with. You share these lives with all the players in the lobby. Once the lives have been spent, there will be no more respawning. If playing on hardcore, you only have 4 lives (one for each player). If a player joins the game and then leaves it will count as a life, so be careful when hosting public games. |
||
| ⚫ | |||
| + | Crystalline Dimension, unlike any other map, only gives one reward per steam account, not per character. This means that emulators cannot be used to get more rewards at the end. If any of the [[Eternia Crystal|crystals]] die, not just the one with the Legendary Heroes, you will be defeated and will need to restart. You have 86:30 to complete the entire map. |
||
| − | E.g. |
||
| + | |||
| − | *Mystimire Forest on <span style="color:#FFA500">hard</span> <span style="color:#B8860B"> HC</span> |
||
| + | The [https://steamcommunity.com/games/DungeonDefenders/announcements/detail/1706183879311962658 Return to the Crystalline Dimension] update added 3 new levels that take place in the Crystalline Dimension see [[Crystalline Resurgence]] |
||
| − | *Moraggo Desert on <span style="color:#4682B4">medium</span> <span style="color:#B8860B">HC</span> and <span style="color:#FF0000">insane</span> no HC |
||
| + | |||
| − | *Aquanos on <span style="color:#4682B4">medium</span> <span style="color:#B8860B"> HC</span> and <span style="color:#FFA500">hard</span> no HC |
||
| + | ==The Portal== |
||
| − | *Sky City on <span style="color:#FFA500">hard</span> <span style="color:#B8860B">HC</span> |
||
| ⚫ | Players can access the Crystalline Dimension through a portal in the Tavern. (For console players, the portal is located once you play one of the DLC maps on a difficulty you have beaten all 4 on.) The portal will only spawn after the player collects all of the four [[Quest for the Lost Eternia Shards|Lost Eternia Shards]]: Purple ([[Mistymire Forest]]), Blue ([[Moraggo Desert Town]]), Yellow ([[Aquanos]]) and Red ([[Sky City]]). These shards can be obtained in any order. After obtaining a crystal you will be able to see the portal in your tavern. As a note, the portal will only be able to be played on the highest difficulty that you have beaten all maps on. For instance, if you beat three of the four Eternia Shard maps on Nightmare Hardcore, but the last map was beaten on Nightmare, you will be able to play Crystalline Dimension on any difficulty up to Nightmare but not on Nightmare Hardcore. |
||
| − | * <u>portal without HC</u> is available for <span style="color:#FFA500">hard</span> or lower and the <span style="color:#B8860B"><u>portal with HC</u></span> is available for <span style="color:#4682B4">medium</span> or lower (because Morrago+Aquanos '''WITH '''HC were only beaten on medium). |
||
| + | |||
| ⚫ | |||
==Story== |
==Story== |
||
{{Crystallinestory}} |
{{Crystallinestory}} |
||
| − | ==Rewards== |
+ | == Rewards == |
| + | These rewards are PC only. Completing the map on console will reward you 2 completely random items. |
||
| − | The most "wanted" reward are the Legendary skins, and its alternative the Super Legendary skin. You get the Class-Specific skin whenever you kill the Old One. If you kill him on any difficulty (Even easy, which is the easiest way if you're just farming the legendary skins) And for the Super Legendary skins you have to beat it on Nightmare, with hardcore enabled. |
||
| + | {| class="article-table" |
||
| ⚫ | |||
| + | !Class |
||
| + | !Easy-Insane |
||
| + | !Nightmare |
||
| + | |- |
||
| + | |Monk |
||
| ⚫ | |||
| ⚫ | |||
| + | |- |
||
| + | |Huntress |
||
| ⚫ | |||
| ⚫ | |||
| + | |- |
||
| + | |Apprentace |
||
| ⚫ | |||
| ⚫ | |||
| + | |- |
||
| + | |Squire |
||
| ⚫ | |||
| ⚫ | |||
| + | |} |
||
| + | |||
| ⚫ | |||
| + | This content is PC only. Beating The Old One will reward you costumes depending on the character used. |
||
| + | {| class="article-table" |
||
| + | !Class |
||
| + | !Easy-Nightmare |
||
| + | !Nightmare Hardcore |
||
| + | |- |
||
| + | |Monk |
||
| ⚫ | |||
| ⚫ | |||
| + | |- |
||
| + | |Huntress |
||
| ⚫ | |||
| ⚫ | |||
| + | |- |
||
| + | |Apprentace |
||
| ⚫ | |||
| ⚫ | |||
| + | |- |
||
| + | |Squire |
||
| ⚫ | |||
| ⚫ | |||
| + | |} |
||
| + | |||
| + | == Achievements == |
||
| + | You get two achievements for completing this map |
||
| + | * [[Heroes to the Rescue]] |
||
| + | * [[Nightmare Heroes to the Rescue]] |
||
| + | |||
| + | == Stage 1 == |
||
| + | The first stage of Crystalline dimension is the Legendary Huntress stage. After beating stage one you will move on to stage 2.{{Map information|level = 78|image = crystallinehuntress.png|crystals = 3|waves = 2|defense units = 175|starting mana = 5600|hazards = Falling Off Map and Crystalline Antiheroes|mana per round = 5600|goblin = yes|dark elf archer = yes|orc = yes|kobold = yes|wyvern = yes|dark elf mage = yes|dark elf warrior = yes|spider = yes|djinn = yes|ogre = yes|survival reward = N/A|location = Crystalline Dimension}} |
||
| + | |||
| + | == Stage 2 == |
||
| + | Stage 2 of Crystalline Dimension is the Legendary Monk stage. After beating this stage you will move on to stage 3.{{Map information|level = 78|image = crystallinemonk.png|crystals = 4|waves = 2|defense units = 175|starting mana = 5600|hazards = Falling Off Map and Crystalline Antiheroes|mana per round = 5600|location = Crystalline Dimension|survival reward = N/A|goblin = yes|dark elf archer = yes|orc = yes|kobold = yes|wyvern = yes|dark elf mage = yes|dark elf warrior = yes|spider = yes|djinn = yes|ogre = yes}} |
||
| + | |||
| + | == Stage 3 == |
||
| + | Stage 3 of Crystalline Dimension is the Legendary Apprentice stage. After beating this stage you will move on to the boss gauntlet.{{Map information|level = 78|image = crystallinemage.png|crystals = 5|waves = 2|defense units = 175|starting mana = 5600|hazards = Falling Off Map and Crystalline Antiheroes|mana per round = 5600|location = Crystalline Dimension|survival reward = N/A|goblin = yes|dark elf archer = yes|orc = yes|kobold = yes|wyvern = yes|dark elf mage = yes|dark elf warrior = yes|spider = yes|djinn = yes|ogre = yes}} |
||
| + | |||
| + | == Boss Gauntlet == |
||
| + | This is arguably the hardest stage of Crystalline Dimension. Unlike all the stages so far, your build time is limited. This build time scales with the amount of players in the game. When soloing, there are 40 seconds on the clock (although the timer goes down once every two seconds so technically it is 80 seconds. Each additional player removes 5 seconds from the clock (so 4 players in has 25 seconds on the clock but 50 seconds of build time). It is recommended to have multiple players build on this stage due to time constraints. Once build time is over two [[Demon Lord|Demon Lords]], two [[Goblin Mech|Goblin Mechs]], and an [[Ancient Dragon]] will spawn. It is recommended to beat the demons first since the fire will damage your defenses. Once all of the bosses are defeated the stage is over and you move on to [[Old One|The Old One]] fight.{{Map information|level = 78|image = crystallineknight.png|crystals = 1|waves = 1|defense units = 110|starting mana = 6400|hazards = Falling Off Map, Bosses, and Crystalline Antiheroes|mana per round = N/A|location = Crystalline Dimension|survival reward = N/A|goblin = yes|dark elf archer = yes|orc = yes|kobold = yes|dark elf mage = yes|dark elf warrior = yes|spider = yes|djinn = yes}} |
||
| + | == Old One == |
||
| − | *Completing this unlockable map by defeating the [[Old One]] boss on Nightmare Hardcore will unlock a new class-specific Super Legendary Hero [[costume]]. (To enable hardcore mode, complete all of the eternia shard maps on nightmare hardcore mode to unlock it.) |
||
| + | [[Old One|The Old One]] is the final stage of Crystalline Dimension. This boss fight is like no other. There are three stages to the boss fight, the feet, the chest, and the head. You are only able to damage the boss during the head phase. |
||
| − | *Completing this map on any difficulty mode enabled unlocks a class specific Legendary hero [[costume]]. |
||
| − | == |
+ | === Feet Stage === |
| + | There are two crystals to destroy at this stage. One in both feet. Once both crystals are destroyed, a smaller section of the stage will raise up to the chest stage. |
||
| − | *When you place a Turret on the Final boss map it can cause you to continuously fall through the Raising platform and die continuously |
||
| − | ==Trivia== |
||
| − | The crystalline versions of the heroes give 0 EXP, as indicated on the bottom of the screen when one is killed. |
||
| − | == |
+ | === Chest Stage === |
| + | There are three crystals to destroy during this stage. The chest crystal and the two hand crystals. These are harder to destroy than the feet crystals because they can only be damaged during certain times. All three crystals will be able to be damaged when The Old One is taunting. Apart from that, the hands may only be damaged in the period after the hand slam and the chest crystal may only be damaged during the chest lasers. Upon the destruction of all three crystals an even smaller section of the stage will be raised to the head section. |
||
| − | <gallery type="slider"> |
||
| − | crystallinedimension4.jpg|Old One|link=Old One|linktext=The Fifth and Final Boss |
||
| − | crystallinedimension2.jpg|Crystalline Foes|link=Crystalline Dimension|linktext=All Your Enemies Have Returned in Crystalline Form |
||
| − | crystallinedimension3.jpg|Legendary Heroes|link=Parents|linktext=Rescue Your Parents! |
||
| − | crystallinedimension1.jpg|Crystalline Dimension|link=Crystalline Dimension|linktext=An Alternate Dimension Far From Etheria |
||
| − | 2012-08-20 00035.jpg|A red crystal filling with dark energy|linktext=A monster spawner in the crystalline dimension |
||
| − | 2012-08-20 00034.jpg|Crystalline portal from the dimension|linktext=The first spawn when you start the mission |
||
| − | </gallery> |
||
| − | == |
+ | === Head Stage === |
| + | The head stage has no crystals to destroy. This stage is where you are able to actually hurt The Old One. Upon taking a certain amount of damage, the stage will reset to the feet stage where you will need to repeat the process until The Old One is defeated. It is worthwhile to note that a strong, single-damage ability (like a hawk stance strike from a barbarian) can bypass the damage-per-stage limit allowing you to be able to defeat The Old One in one or two head stages instead of the usual four. {{Map Information Rewards|image = crystallineboss.png|waves = 1|defense units = 8|starting mana = 0|hazards = Falling Off Map and The Old One|mana per round = 0|location = Crystalline Dimension|survival reward = N/A|goblin = yes|dark elf archer = yes|orc = yes|old one = Yes|crystals = 0|squire easy = Crystal Blade|apprentice easy = Crystal Staff|huntress easy = Crystal Gun|monk easy = Jade Spear|squire medium = Crystal Blade|apprentice medium = Crystal Staff|huntress medium = Crystal Gun|monk medium = Jade Spear|squire hard = Crystal Blade|apprentice hard = Crystal Staff|huntress hard = Crystal Gun|monk hard = Jade Spear|squire insane = Crystal Blade|apprentice insane = Crystal Staff|huntress insane = Crystal Gun|monk insane = Jade Spear|squire nightmare = Eternian Greatsword|apprentice nightmare = Eternian Staff|huntress nightmare = Eternian Energy Cannon|monk nightmare = Eternian Spear|squire console easy = Crystal Blade|apprentice console easy = Crystal Staff|huntress console easy = Crystal Gun|monk console easy = Jade Spear|squire console medium = Crystal Blade|apprentice console medium = Crystal Staff|huntress console medium = Crystal Gun|monk console medium = Jade Spear|squire console hard = Crystal Blade|apprentice console hard = Crystal Staff|huntress console hard = Crystal Gun|monk console hard = Jade Spear|squire console insane = Crystal Blade|apprentice console insane = Crystal Staff|huntress console insane = Crystal Gun|monk console insane = Jade Spear|squire console nightmare = Eternian Sword|apprentice console nightmare = Eternian Staff|huntress console nightmare = Eternian Energy Cannon|monk console nightmare = Eternian Spear}} [[Category:Squire Weapons]] |
||
| − | Players will face several waves of enemies on different planes of the Crystalline Dimension. |
||
| ⚫ | |||
| − | {{Crystallinedimensionlevels |
||
| + | [[Category:Crystalline Dimension]] |
||
| − | |image = crystallinehuntress.png |
||
| + | [[Category:Area 1 Maps]] |
||
| − | |heroname = [[Legendary Huntress]] |
||
| + | [[Category:Area 2 Maps]] |
||
| − | |crystals = 3 |
||
| + | [[Category:Area 3 Maps]] |
||
| − | |waves = 2 |
||
| + | [[Category:Boss rewards]] |
||
| − | |defense units = 175 |
||
| + | [[Category:DLC boss]] |
||
| − | |starting mana = 5600 |
||
| − | |hazards = Falling Off Map |
||
| − | |mana per round = 5600}} |
||
| − | {{Crystallinedimensionlevels |
||
| − | |image = crystallinemonk.png |
||
| − | |heroname = [[Legendary Monk]] |
||
| − | |crystals = 4 |
||
| − | |waves = 2 |
||
| − | |defense units = 175 |
||
| − | |starting mana = 5600 |
||
| − | |hazards = Falling Off Map |
||
| − | |mana per round = 5600}} |
||
| − | {{Crystallinedimensionlevels |
||
| − | |image = crystallinemage.png |
||
| − | |heroname = [[Legendary Mage]] |
||
| − | |crystals = 5 |
||
| − | |waves = 2 |
||
| − | |defense units = 175 |
||
| − | |starting mana = 5600 |
||
| − | |hazards = Falling Off Map |
||
| − | |mana per round = 5600}} |
||
| − | {{Crystallinedimensionlevels |
||
| − | |image = crystallineknight.png |
||
| − | |heroname = [[Legendary Knight]] |
||
| − | |crystals = 1 |
||
| − | |waves = 1 |
||
| − | |defense units = 110 |
||
| − | |starting mana = 6400 |
||
| − | |hazards = Falling Off Map}} |
||
| − | {{Crystallinedimensionlevels |
||
| − | |heroname = [[Old One]] |
||
| − | |crystals = 0 |
||
| − | |waves = 1 |
||
| − | |defense units = 10 |
||
| − | |starting mana = 0 |
||
| − | |hazards = Falling Off Map |
||
| − | |image = crystallineboss.png}} |
||
| − | {{Crystallinedimension2 |
||
| − | |goblin = . |
||
| − | |dark elf archer = . |
||
| − | |orc = . |
||
| − | |kobold = . |
||
| − | |wyvern = . |
||
| − | |dark elf mage = . |
||
| − | |goblin copter = . |
||
| − | |dark elf warrior = . |
||
| − | |ogre = . |
||
| − | |djinn = .|genie king = |sharken = . |
||
| ⚫ | |||
| ⚫ | |||
| − | |squire medium = [[Crystal Blade]]<br> |
||
| − | [[Legendary Knight Costume]] |
||
| − | |squire hard = [[Crystal Blade]]<br> |
||
| − | [[Legendary Knight Costume]] |
||
| − | |squire insane = [[Crystal Blade]]<br> |
||
| − | [[Legendary Knight Costume]] |
||
| ⚫ | |||
| ⚫ | |||
| ⚫ | |||
| ⚫ | |||
| − | |apprentice medium = [[Crystal Staff]]<br> |
||
| − | [[Legendary Mage Costume]] |
||
| − | |apprentice hard = [[Crystal Staff]]<br> |
||
| − | [[Legendary Mage Costume]] |
||
| − | |apprentice insane = [[Crystal Staff]]<br> |
||
| − | [[Legendary Mage Costume]] |
||
| ⚫ | |||
| ⚫ | |||
| ⚫ | |||
| ⚫ | |||
| − | |huntress medium = [[Crystal Gun]]<br> |
||
| − | [[Legendary Huntress Costume]] |
||
| − | |huntress hard = [[Crystal Gun]]<br> |
||
| − | [[Legendary Huntress Costume]] |
||
| − | |huntress insane = [[Crystal Gun]]<br> |
||
| − | [[Legendary Huntress Costume]] |
||
| ⚫ | |||
| ⚫ | |||
| ⚫ | |||
| ⚫ | |||
| − | |monk medium = [[Jade Spear]]<br> |
||
| − | [[Legendary Monk Costume]] |
||
| − | |monk hard = [[Jade Spear]]<br> |
||
| − | [[Legendary Monk Costume]] |
||
| − | |monk insane = [[Jade Spear]]<br> |
||
| − | [[Legendary Monk Costume]] |
||
| ⚫ | |||
| ⚫ | |||
| − | |spider = . |
||
| − | |demon lord = . |
||
| − | |goblin mech = . |
||
| − | |ancient dragon = . |
||
| − | |spider queen = |
||
| − | |kraken = |
||
| − | |old one = .}} |
||
| ⚫ | |||
| − | [[Category:Quest for the Lost Eternia Shards]] |
||
[[Category:DLC]] |
[[Category:DLC]] |
||
| − | [[Category: |
+ | [[Category:Boss]] |
Revision as of 16:21, 27 July 2018
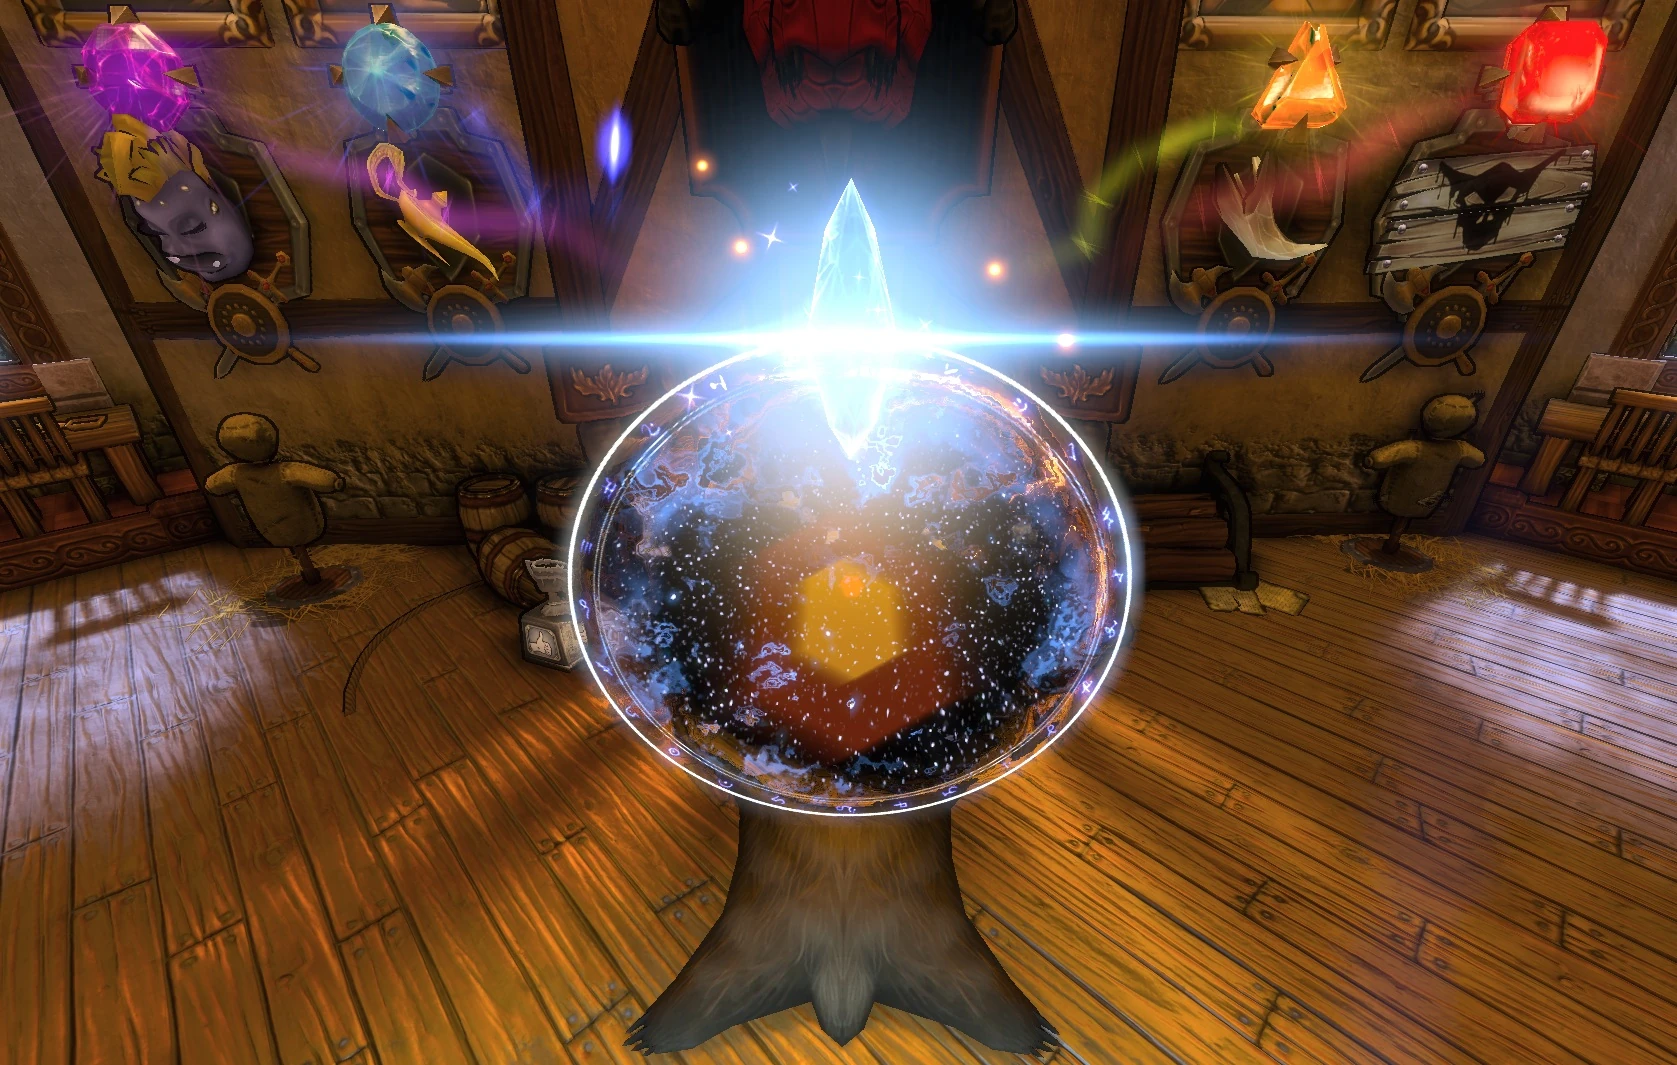
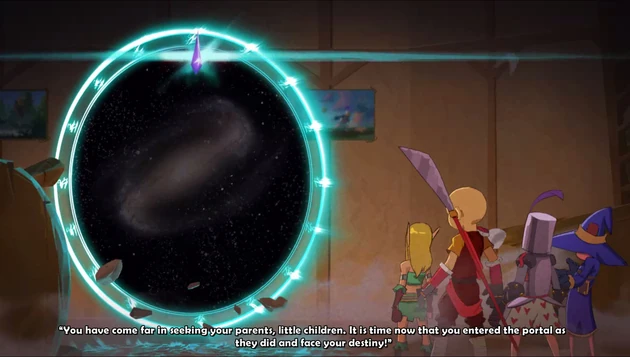
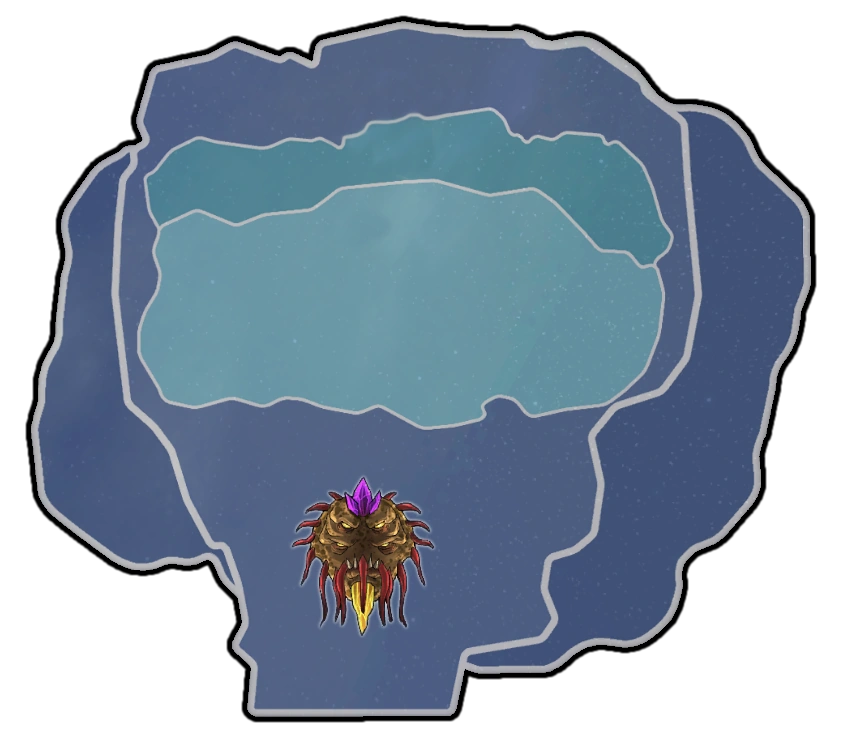
Spawn a Portal to the Crystalline Dimension by Collecting All Four Lost Eternia Shards!
The Crystalline Dimension is a mysterious world located in another dimension, far from Etheria itself. It is the location of the captured legendary heroes, the heroes' parents.
This map features several enhanced enemies, as well as crystalline manifestations of the heroes & every boss encountered throughout the main campaign from the Quest for the Lost Eternia Shards maps (excluding the Goblin Battlecruiser.)
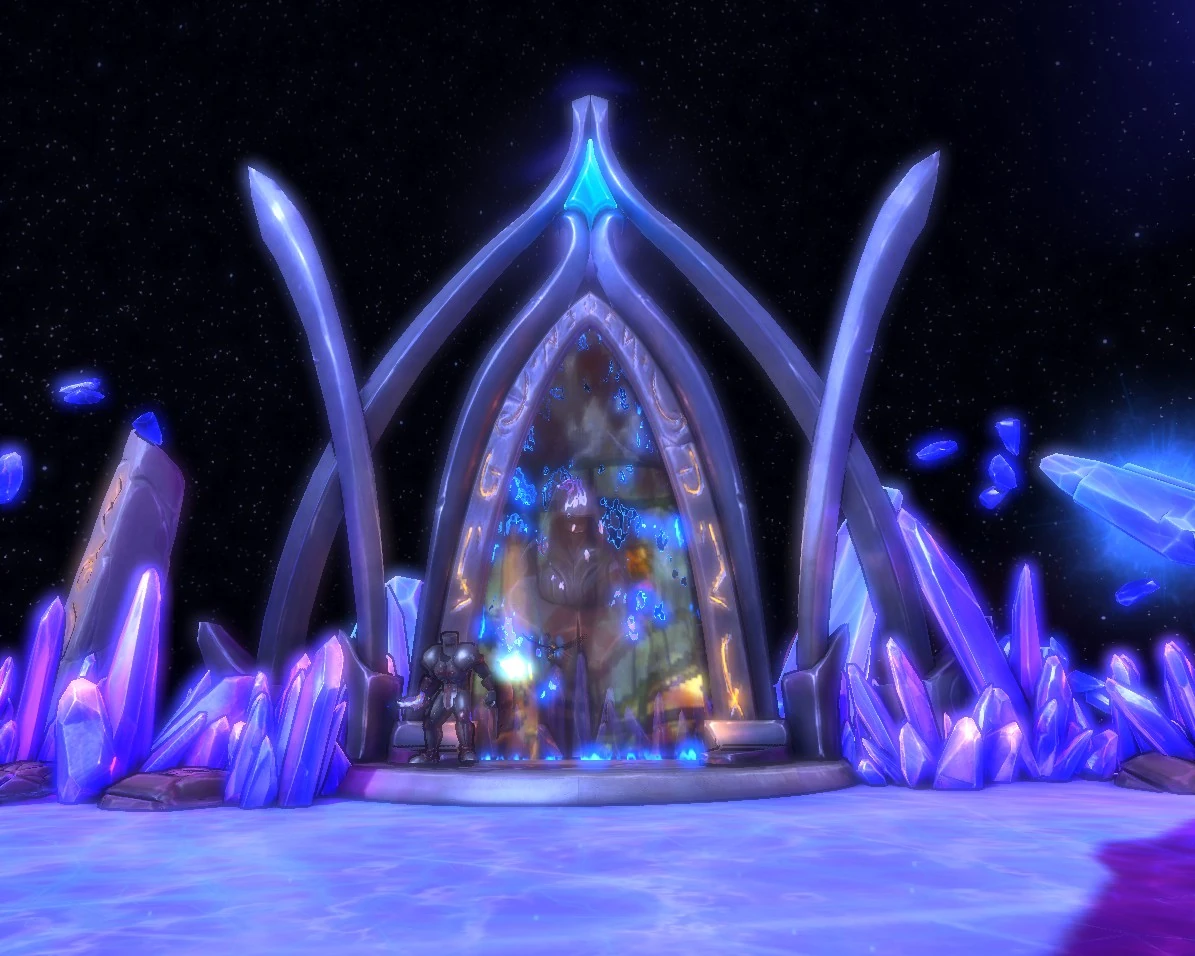
Portal from the crystalline dimension
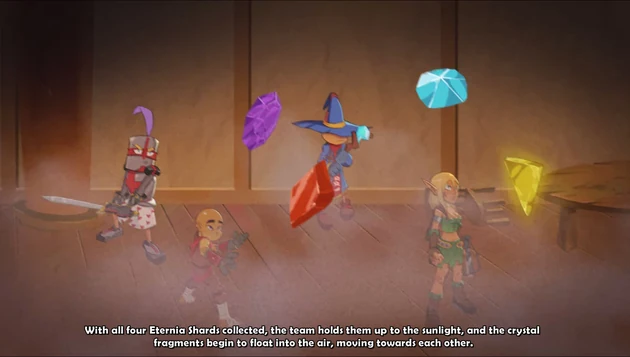
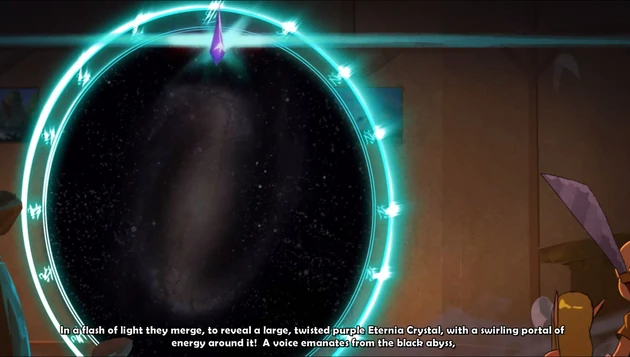
After defeating all crystalline boss monsters, the Old One appears and must be defeated in order for the heroes to reunite with their parents. Each legendary hero must be rescued in succession. All four stages take place in different areas where you will need to build new defenses; if you fail at any point of this event you must restart from the beginning.
The map is unique with how lives work. When not played on hardcore, you will have 8 lives to work with. You share these lives with all the players in the lobby. Once the lives have been spent, there will be no more respawning. If playing on hardcore, you only have 4 lives (one for each player). If a player joins the game and then leaves it will count as a life, so be careful when hosting public games.
Crystalline Dimension, unlike any other map, only gives one reward per steam account, not per character. This means that emulators cannot be used to get more rewards at the end. If any of the crystals die, not just the one with the Legendary Heroes, you will be defeated and will need to restart. You have 86:30 to complete the entire map.
The Return to the Crystalline Dimension update added 3 new levels that take place in the Crystalline Dimension see Crystalline Resurgence
The Portal
Players can access the Crystalline Dimension through a portal in the Tavern. (For console players, the portal is located once you play one of the DLC maps on a difficulty you have beaten all 4 on.) The portal will only spawn after the player collects all of the four Lost Eternia Shards: Purple (Mistymire Forest), Blue (Moraggo Desert Town), Yellow (Aquanos) and Red (Sky City). These shards can be obtained in any order. After obtaining a crystal you will be able to see the portal in your tavern. As a note, the portal will only be able to be played on the highest difficulty that you have beaten all maps on. For instance, if you beat three of the four Eternia Shard maps on Nightmare Hardcore, but the last map was beaten on Nightmare, you will be able to play Crystalline Dimension on any difficulty up to Nightmare but not on Nightmare Hardcore.
Console Note: the portal to the Crystalline Dimension is found in the Sky City map.
Story
|
Full Story
| ||||||||||||
|---|---|---|---|---|---|---|---|---|---|---|---|---|
Intro Cinematic
| ||||||||||||
Rewards
These rewards are PC only. Completing the map on console will reward you 2 completely random items.
| Class | Easy-Insane | Nightmare |
|---|---|---|
| Monk | Jade Spear | Eternian Spear |
| Huntress | Crystal Gun | Eternian Energy Cannon |
| Apprentace | Crystal Staff | Eternian Staff |
| Squire | Crystal Blade | Eternian Greatsword |
Costumes
This content is PC only. Beating The Old One will reward you costumes depending on the character used.
| Class | Easy-Nightmare | Nightmare Hardcore |
|---|---|---|
| Monk | Legendary Monk | Super Legendary Monk |
| Huntress | Legendary Huntress | Super Legendary Huntress |
| Apprentace | Legendary Apprentace | Super Legendary Apprentace |
| Squire | Legendary Squire | Super Legendary Squire |
Achievements
You get two achievements for completing this map
Stage 1
The first stage of Crystalline dimension is the Legendary Huntress stage. After beating stage one you will move on to stage 2.Template:Map information
Stage 2
Stage 2 of Crystalline Dimension is the Legendary Monk stage. After beating this stage you will move on to stage 3.Template:Map information
Stage 3
Stage 3 of Crystalline Dimension is the Legendary Apprentice stage. After beating this stage you will move on to the boss gauntlet.Template:Map information
Boss Gauntlet
This is arguably the hardest stage of Crystalline Dimension. Unlike all the stages so far, your build time is limited. This build time scales with the amount of players in the game. When soloing, there are 40 seconds on the clock (although the timer goes down once every two seconds so technically it is 80 seconds. Each additional player removes 5 seconds from the clock (so 4 players in has 25 seconds on the clock but 50 seconds of build time). It is recommended to have multiple players build on this stage due to time constraints. Once build time is over two Demon Lords, two Goblin Mechs, and an Ancient Dragon will spawn. It is recommended to beat the demons first since the fire will damage your defenses. Once all of the bosses are defeated the stage is over and you move on to The Old One fight.Template:Map information
Old One
The Old One is the final stage of Crystalline Dimension. This boss fight is like no other. There are three stages to the boss fight, the feet, the chest, and the head. You are only able to damage the boss during the head phase.
Feet Stage
There are two crystals to destroy at this stage. One in both feet. Once both crystals are destroyed, a smaller section of the stage will raise up to the chest stage.
Chest Stage
There are three crystals to destroy during this stage. The chest crystal and the two hand crystals. These are harder to destroy than the feet crystals because they can only be damaged during certain times. All three crystals will be able to be damaged when The Old One is taunting. Apart from that, the hands may only be damaged in the period after the hand slam and the chest crystal may only be damaged during the chest lasers. Upon the destruction of all three crystals an even smaller section of the stage will be raised to the head section.
Head Stage
The head stage has no crystals to destroy. This stage is where you are able to actually hurt The Old One. Upon taking a certain amount of damage, the stage will reset to the feet stage where you will need to repeat the process until The Old One is defeated. It is worthwhile to note that a strong, single-damage ability (like a hawk stance strike from a barbarian) can bypass the damage-per-stage limit allowing you to be able to defeat The Old One in one or two head stages instead of the usual four.
 |
Map Information | ||||||||||||||
|---|---|---|---|---|---|---|---|---|---|---|---|---|---|---|---|
| Number of Crystals | Number of Waves | Defense Units | Starting Mana | ||||||||||||
| 1 | 8 | 0 | |||||||||||||
| Hazards | Mana Per Round | ||||||||||||||
| Falling Off Map and The Old One | 0 | ||||||||||||||
| Location | |||||||||||||||
| Crystalline Dimension | |||||||||||||||
| Spawn List | |||||||||||||||
|
| |||||||||||||||
|
| |||||||||||||||
| Bosses | |||||||||||||||
|
| |||||||||||||||
| Rewards | |||||||||||||||
| PC | |||||||||||||||
| Easy | Medium | Hard | Insane | Nightmare | |||||||||||
| Squire & Countess Crystal Blade Apprentice & Adept Crystal Staff Huntress & Ranger Crystal Gun Monk & Initiate Jade Spear |
Squire & Countess Crystal Blade Apprentice & Adept Crystal Staff Huntress & Ranger Crystal Gun Monk & Initiate Jade Spear |
Squire & Countess Crystal Blade Apprentice & Adept Crystal Staff Huntress & Ranger Crystal Gun Monk & Initiate Jade Spear |
Squire & Countess Crystal Blade Apprentice & Adept Crystal Staff Huntress & Ranger Crystal Gun Monk & Initiate Jade Spear |
Squire & Countess Eternian Greatsword Apprentice & Adept Eternian Staff Huntress & Ranger Eternian Energy Cannon Monk & Initiate Eternian Spear | |||||||||||
| Survival Rewards | |||||||||||||||
| N/A | |||||||||||||||