(Adding categories) Tag: categoryselect |
(→Tips) Tag: Visual edit |
||
| (35 intermediate revisions by 6 users not shown) | |||
| Line 1: | Line 1: | ||
| − | [[File:Crystalportal.jpg|288px|right|thumb|<p style="text-align: center;">Spawn a Portal to the Crystalline Dimension by Collecting All Four Lost Eternia Shards!</p>]] |
+ | [[File:Crystalportal.jpg|288px|right|thumb|<p style="text-align: center;">Spawn a Portal to the Crystalline Dimension by Collecting All Four Lost Eternia Shards!</p>]]The '''Crystalline Dimension''' is a mysterious world located in another dimension, far from Etheria itself. It is the location of the captured legendary heroes, the heroes' [[parents]], as well as the [[Old One|Old One]]. |
| + | |||
| − | Squirepose.png |
||
| + | Crystalline versions of every non-boss enemy that is regularly encountered on Nightmare spawn here, regardless of difficulty level. The world also features crystallized versions of the original four heroes and three bosses. In the Boss Rush challenge, two Spider Queens, a Genie King, and two Krakens are also fought in sequence. |
||
| − | </gallery>The '''Crystalline Dimension''' is a mysterious world located in another dimension, far from Etheria itself. It is the location of the captured legendary heroes, the heroes' [[parents]]. |
||
| − | This map features several enhanced enemies, as well as crystalline manifestations of the [[heroes]] & every [[:Category:Boss|boss]] encountered throughout the main campaign from the [[Quest for the Lost Eternia Shards]] [[maps]] (excluding the [[Goblin Battlecruiser]].) |
||
[[File:2012-08-20 00034.jpg|thumb|285px|Portal from the crystalline dimension]] |
[[File:2012-08-20 00034.jpg|thumb|285px|Portal from the crystalline dimension]] |
||
| + | The main mission is divided into five fields which all must be cleared in succession, within a time limit of 86:30 (86 minutes and 30 seconds) and a limited number of lives. If a player joins the game and then leaves, a life will be lost. Therefore, caution should be taken when hosting public games without hardcore mode enabled. |
||
| − | After defeating all crystalline [[:Category:Boss|boss]] monsters, the [[Old One]] appears and must be defeated in order for the heroes to reunite with their [[parents]]. |
||
| − | Each legendary hero must be defended in succession. Each new hero will need new defenses due to the maps changing; if you fail at any point of this event you must restart from the first map. |
||
| − | ==Access== |
||
| − | Players can access the Crystalline Dimension through a portal in the [[Tavern]]. (For console players, the portal is located once you play one of the DLC maps on a difficulty you have beaten all 4 on.) The portal will only spawn after the player collects all four Lost Eternia Shards in succession: Purple ([[Mistymire Forest]]), Blue ([[Moraggo Desert Town]]), Yellow ([[Aquanos]]) and Red ([[Sky City]]). It is important that the portal will be only available for one difficulty if the owner of the tavern got the 4 crystals on the same or higher difficulty AND the same mode for hardcore (HC). |
||
| + | '''If at ANY point: a crystal is destroyed, the player(s) run out of lives or time runs out, they will lose and have to restart the mission from the very beginning.''' |
||
| − | Console Note: the portal to the Crystalline Dimension is found in the Sky City map. |
||
| + | After completing the Crystalline Dimension once, the first part to the Crystalline Resurgence is unlocked. The second and third parts are unlocked after clearing the first. These three challenges take place solely on the first, second and third fields respectively from the original mission. |
||
| − | E.g. |
||
| + | |||
| − | *Mystimire Forest on <span style="color:#FFA500">hard</span> <span style="color:#B8860B"> HC</span> |
||
| + | ==The Portal== |
||
| − | *Moraggo Desert on <span style="color:#4682B4">medium</span> <span style="color:#B8860B">HC</span> and <span style="color:#FF0000">insane</span> no HC |
||
| + | The Crystalline Dimension is accessible once the player has acquired all four [[Quest for the Lost Eternia Shards|Lost Eternia Shards]] by clearing [[Mistymire Forest]], [[Moraggo Desert Town]], [[Aquanos]], and [[Sky City]], in any order. The mission may be played up to highest shared difficulty level all four maps were completed on. To enter the Crystalline Dimension on Nightmare Hardcore, the four previously mentioned maps must also be completed on Nightmare Hardcore. |
||
| − | *Aquanos on <span style="color:#4682B4">medium</span> <span style="color:#B8860B"> HC</span> and <span style="color:#FFA500">hard</span> no HC |
||
| + | |||
| − | *Sky City on <span style="color:#FFA500">hard</span> <span style="color:#B8860B">HC</span> |
||
| + | When this criteria is met, a portal to the dimension will appear in the host's tavern. The Crystalline Dimension can be entered through the mission setup interface under "Challenges." The host can choose to hide the portal in their tavern from the Options menu. The portal does not have to be shown in order to enter the Crystalline Dimension. |
||
| − | * <u>portal without HC</u> is available for <span style="color:#FFA500">hard</span> or lower and the <span style="color:#B8860B"><u>portal with HC</u></span> is available for <span style="color:#4682B4">medium</span> or lower (because Morrago+Aquanos '''WITH '''HC were only beaten on medium). |
||
==Story== |
==Story== |
||
{{Crystallinestory}} |
{{Crystallinestory}} |
||
| + | |||
| + | == Rewards == |
||
| + | On console, two completely random items are rewarded for clearing the mission. |
||
| + | |||
| + | On PC, the rewards for completing the Crystalline Dimension are given per account, per run. This means that a user cannot get more items by bringing multiple heroes that belong to the same account. |
||
| + | |||
| + | One special class weapon is awarded for completing the Crystalline Dimension as the corresponding class (or their counterpart). If a Series EV is used, either the Crystal Gun or Crystal Staff is given. If a Jester or Summoner is used, any one of these weapons will be given. |
||
| + | {| class="article-table" |
||
| + | !Class |
||
| + | !Easy-Insane |
||
| + | !Nightmare |
||
| + | |- |
||
| + | |Monk |
||
| + | |[[Jade Spear]] |
||
| + | |[[Eternian Spear]] |
||
| + | |- |
||
| + | |Huntress |
||
| + | |[[Crystal Gun]] |
||
| + | |[[Eternian Energy Cannon]] |
||
| + | |- |
||
| + | |Apprentice |
||
| + | |[[Crystal Staff]] |
||
| + | |[[Eternian Staff]] |
||
| + | |- |
||
| + | |Squire ''or'' Barbarian |
||
| + | |[[Crystal Blade]] |
||
| + | |[[Eternian Greatsword]] |
||
| + | |} |
||
| + | A Legendary Costume is unlocked for completing the Crystalline Dimension for the first time as the specified class (or their counterpart). The Super Legendary Costume is also unlocked if the mission was done on Nightmare Hardcore. |
||
| + | {| class="article-table" |
||
| + | !Class |
||
| + | !Easy-Nightmare |
||
| + | !Nightmare Hardcore |
||
| + | |- |
||
| + | |Monk |
||
| + | |[[Legendary Monk Costume|Legendary Monk]] |
||
| + | |[[Super Legendary Monk Costume|Super Legendary Monk]] |
||
| + | |- |
||
| + | |Huntress |
||
| + | |[[Legendary Huntress Costume|Legendary Huntress]] |
||
| + | |[[Super Legendary Huntress Costume|Super Legendary Huntress]] |
||
| + | |- |
||
| + | |Apprentace |
||
| + | |[[Legendary Mage Costume|Legendary Apprentace]] |
||
| + | |[[Super Legendary Mage Costume|Super Legendary Apprentace]] |
||
| + | |- |
||
| + | |Squire / Barbarian |
||
| + | |[[Legendary Knight Costume|Legendary Squire]] |
||
| + | |[[Super Legendary Knight Costume|Super Legendary Squire]] |
||
| + | |} |
||
| + | |||
| + | Exclusive crystalline accessories are also awarded for completing the mission. Off-host players get two accessories per hero, while the host only gets one accessory per hero. |
||
| + | |||
| + | == Achievements == |
||
| + | * [[Heroes to the Rescue]] |
||
| + | * [[Nightmare Heroes to the Rescue]] |
||
| + | |||
| + | == Notes == |
||
| + | Which crystalline heroes spawn depends on the character classes each player uses during combat. Their ranged attacks can be bounced back with Reflection Beams. |
||
| + | {| class="article-table" |
||
| + | !'''Class''' |
||
| + | !'''Antihero''' |
||
| + | !Abilities |
||
| + | |- |
||
| + | |Apprentice / Adapt / Jester |
||
| + | |Crystalline Apprentice |
||
| + | |Mana Bomb, Self-Heal |
||
| + | |- |
||
| + | |Squire / Countess / Barbarian |
||
| + | |Crystalline Squire |
||
| + | |Circular Slice, Self-Heal |
||
| + | |- |
||
| + | |Huntress / Ranger / Series EV |
||
| + | |Crystalline Huntress |
||
| + | |Piercing Shot, Self-Heal |
||
| + | |- |
||
| + | |Monk / Initiate / Summoner |
||
| + | |Crystalline Monk |
||
| + | |Melee and Ranged Attacks, Self-Heal |
||
| + | |} |
||
| + | * The crystalline heroes do not count towards wave completion. They will continue to spawn (and respawn periodically if destroyed) until the wave ends. |
||
| + | * Crystalline heroes cannot damage Eternia Crystals. |
||
| + | * Summoner minions will fight the crystallized enemies, despite him and his minions being native to the Crystalline Dimension. |
||
| + | |||
| + | == Mission Progression and Map Details == |
||
| + | On fields/stages 1-4, one of the Eternia Crystals contain a captured Legendary Hero. These crystals are taller and have less health than the other crystals. All four maps are vast and open; it is therefore impractical to build physical walls for every possible direction the ground enemies can approach the crystals. |
||
| + | |||
| + | == Stage 1 - Legendary Huntress == |
||
| + | {{Map information|level = 78|image = crystallinehuntress.png|crystals = 3|waves = 2|defense units = 175|starting mana = 5600|hazards = Falling Off Map and Crystalline Antiheroes|mana per round = 5600|goblin = yes|dark elf archer = yes|orc = yes|kobold = yes|wyvern = yes|dark elf mage = yes|dark elf warrior = yes|spider = yes|djinn = yes|ogre = yes|survival reward = N/A|location = Crystalline Dimension|strategy = There's a rectangular-shaped corner in between the east crystal and the middle crystal containing the Legendary Huntress. You can place Lightning and Deadly Striker Towers in this enclosed space to aggro ogres away from the two crystals. Close off the opening in 2-3 Physical Beams. Remember to space the walls far enough to keep the mage towers so that the ogres can't smash them. |
||
| + | |||
| + | Non-copter ogres aren't guaranteed to be redirected, so you'll need to place a few minions near each core to hold their attention.}} |
||
| + | |||
| + | == Stage 2 - Legendary Monk == |
||
| + | {{Map information|level = 78|image = crystallinemonk.png|crystals = 4|waves = 2|defense units = 175|starting mana = 5600|hazards = Falling Off Map and Crystalline Antiheroes|mana per round = 5600|location = Crystalline Dimension|survival reward = N/A|goblin = yes|dark elf archer = yes|orc = yes|kobold = yes|wyvern = yes|dark elf mage = yes|dark elf warrior = yes|spider = yes|djinn = yes|ogre = yes|strategy = During combat, have at least one Jester (each carrying a ranged weapon and a [[Genie]] pet) around the northwest and southeast corners of the field -- to quickly upgrade defenses.}} |
||
| + | |||
| + | == Stage 3 - Legendary Apprentice == |
||
| + | {{Map information|level = 78|image = crystallinemage.png|crystals = 5|waves = 2|defense units = 175|starting mana = 5600|hazards = Falling Off Map and Crystalline Antiheroes|mana per round = 5600|location = Crystalline Dimension|survival reward = N/A|goblin = yes|dark elf archer = yes|orc = yes|kobold = yes|wyvern = yes|dark elf mage = yes|dark elf warrior = yes|spider = yes|djinn = yes|ogre = yes|strategy = The top central crystal holding the Legendary Mage gets the least amount of traffic. Auras and traps should be enough to take out anything not an ogre that approaches this core.}} |
||
| + | |||
| + | == Stage 4 - Legendary Squire and Boss Gauntlet == |
||
| + | This is arguably the hardest stage of Crystalline Dimension. Unlike the previous three stages, build time is limited. It is recommended to have multiple players build due to this time constraint. Once the countdown ends, two [[Demon Lord|Demon Lords]], two [[Goblin Mech|Goblin Mechs]], and an [[Ancient Dragon]] will spawn, as well as endless enemies. Some of these endless enemies are "'''Super Orcs'''" which have much higher stats than regular orcs. On higher difficulties, they can destroy the Eternia Crystal instantly, even if weakened by a Strength Drain Aura or the Initiate's Enemy Drain. |
||
| + | |||
| + | {{Map information|level = 78|image = crystallineknight.png|crystals = 1|waves = 1|defense units = 110|starting mana = 6400|hazards = Falling Off Map, Bosses, and Crystalline Antiheroes|mana per round = N/A|location = Crystalline Dimension|survival reward = N/A|goblin = yes|dark elf archer = yes|orc = yes|kobold = yes|dark elf mage = yes|dark elf warrior = yes|spider = yes|djinn = yes|ogre = yes|strategy = Surround the crystal in traps and auras, then power them up with Tower Buff Beams. |
||
| + | |||
| + | Have another player summon minion groups with their Summoner to lure non-copter ogres away from the crystal. |
||
| + | Once the Build Phase is about to end, at least one player should switch to a DPS hero to fight the bosses. |
||
| + | |||
| + | It is possible to build everything in-time on your own, if you know a few shortcuts. When changing heroes at the forge, you can quick-swap between them using the number keys 1-8 (provided that they're all on the same page). Summoners in Overlord Mode can prepare multiple minions at a time, as long as they're different types.}} |
||
| + | |||
| + | == Stage 5 - Old One == |
||
| + | [[Old One|The Old One]] is the final stage of the Crystalline Dimension. This boss fight is like no other. There are three stages to the boss fight: the feet, the chest, and the head. You are only able to damage him directly during the head phase. |
||
| + | |||
| + | === Feet Stage === |
||
| + | There are two orange crystals to destroy at this stage: one on each foot. Once both are destroyed, a smaller section of the stage will raise up to the chest stage. |
||
| + | |||
| + | === Chest Stage === |
||
| + | There are three orange crystals to destroy during this stage: one in the chest and one in each palm. These are harder to destroy than the feet crystals because they can only be damaged during certain times. All three crystals will be able to be damaged when the Old One is taunting. Apart from that, the hands may only be damaged in the period after the hand slam and the chest crystal may only be damaged during the chest lasers. Upon the destruction of all three crystals an even smaller section of the stage will be raised to the head section. |
||
| + | |||
| + | === Head Stage === |
||
| + | This is the stage you can attack the Old One directly. After taking 1/3 of his health in damage, the stage will reset back to the feet stage where you will need to repeat the process until the Old One is defeated. It is worthwhile to note that a strong, single-damage ability (ex: the Barbarian's Hawk Stance) can bypass the damage-per-stage limit allowing you to be able to defeat The Old One in one or two head stages instead of the usual three. {{Map Information Rewards|image = crystallineboss.png|waves = 1|defense units = 8|starting mana = 0|hazards = Falling Off Map and The Old One|mana per round = 0|location = Crystalline Dimension|survival reward = N/A|goblin = yes|dark elf archer = yes|orc = yes|old one = Yes|crystals = 0|squire easy = Crystal Blade|apprentice easy = Crystal Staff|huntress easy = Crystal Gun|monk easy = Jade Spear|squire medium = Crystal Blade|apprentice medium = Crystal Staff|huntress medium = Crystal Gun|monk medium = Jade Spear|squire hard = Crystal Blade|apprentice hard = Crystal Staff|huntress hard = Crystal Gun|monk hard = Jade Spear|squire insane = Crystal Blade|apprentice insane = Crystal Staff|huntress insane = Crystal Gun|monk insane = Jade Spear|squire nightmare = Eternian Greatsword|apprentice nightmare = Eternian Staff|huntress nightmare = Eternian Energy Cannon|monk nightmare = Eternian Spear|squire console easy = Crystal Blade|apprentice console easy = Crystal Staff|huntress console easy = Crystal Gun|monk console easy = Jade Spear|squire console medium = Crystal Blade|apprentice console medium = Crystal Staff|huntress console medium = Crystal Gun|monk console medium = Jade Spear|squire console hard = Crystal Blade|apprentice console hard = Crystal Staff|huntress console hard = Crystal Gun|monk console hard = Jade Spear|squire console insane = Crystal Blade|apprentice console insane = Crystal Staff|huntress console insane = Crystal Gun|monk console insane = Jade Spear|squire console nightmare = Eternian Sword|apprentice console nightmare = Eternian Staff|huntress console nightmare = Eternian Energy Cannon|monk console nightmare = Eternian Spear}} |
||
| + | |||
| + | == Tips == |
||
| + | * Defenses can be placed on top of terrestrial crystals. Some extend high enough to where ogres and antiheroes won't be able to reach or never target. |
||
| + | * The stone circle below each Eternia Crystal represents the approximate area ogres can hit them. Place your physical defenses outside these circles to avoid indirect core damage. |
||
| + | * Only Crystalline Apprentices will spawn if all players, '''including those who can't spawn in''', use either [[Jester|Jesters]], [[Apprentice|Apprentices]], or [[Adept|Adepts]] in combat. Enemy Apprentices are relatively harmless to defenses. Their shots do neglectable damage under a [[Strength Drain Aura]]. They will also not cast [[Mana Bomb]] to attack defenses directly. |
||
| + | * On Fields 1-3, there are non-bottomless pits most heroes cannot escape from without dying. Instead of knocking yourself out from a Hardcore-enabled run, wait for a teammate to enter the portal to the next field. |
||
| + | * Before you proceed to the fourth stage (the Boss Gauntlet), stock up the builders you're going to use with mana to save time dropping and picking up mana. This'll also prevent other players from taking the mana you need. |
||
[[Category:Squire Weapons]] |
[[Category:Squire Weapons]] |
||
[[Category:Squire]] |
[[Category:Squire]] |
||
| + | [[Category:Crystalline Dimension]] |
||
| + | [[Category:Area 1 Maps]] |
||
| + | [[Category:Area 2 Maps]] |
||
| + | [[Category:Area 3 Maps]] |
||
| + | [[Category:Boss rewards]] |
||
| + | [[Category:DLC boss]] |
||
| + | [[Category:DLC]] |
||
| + | [[Category:Boss]] |
||
Revision as of 04:52, 3 September 2020
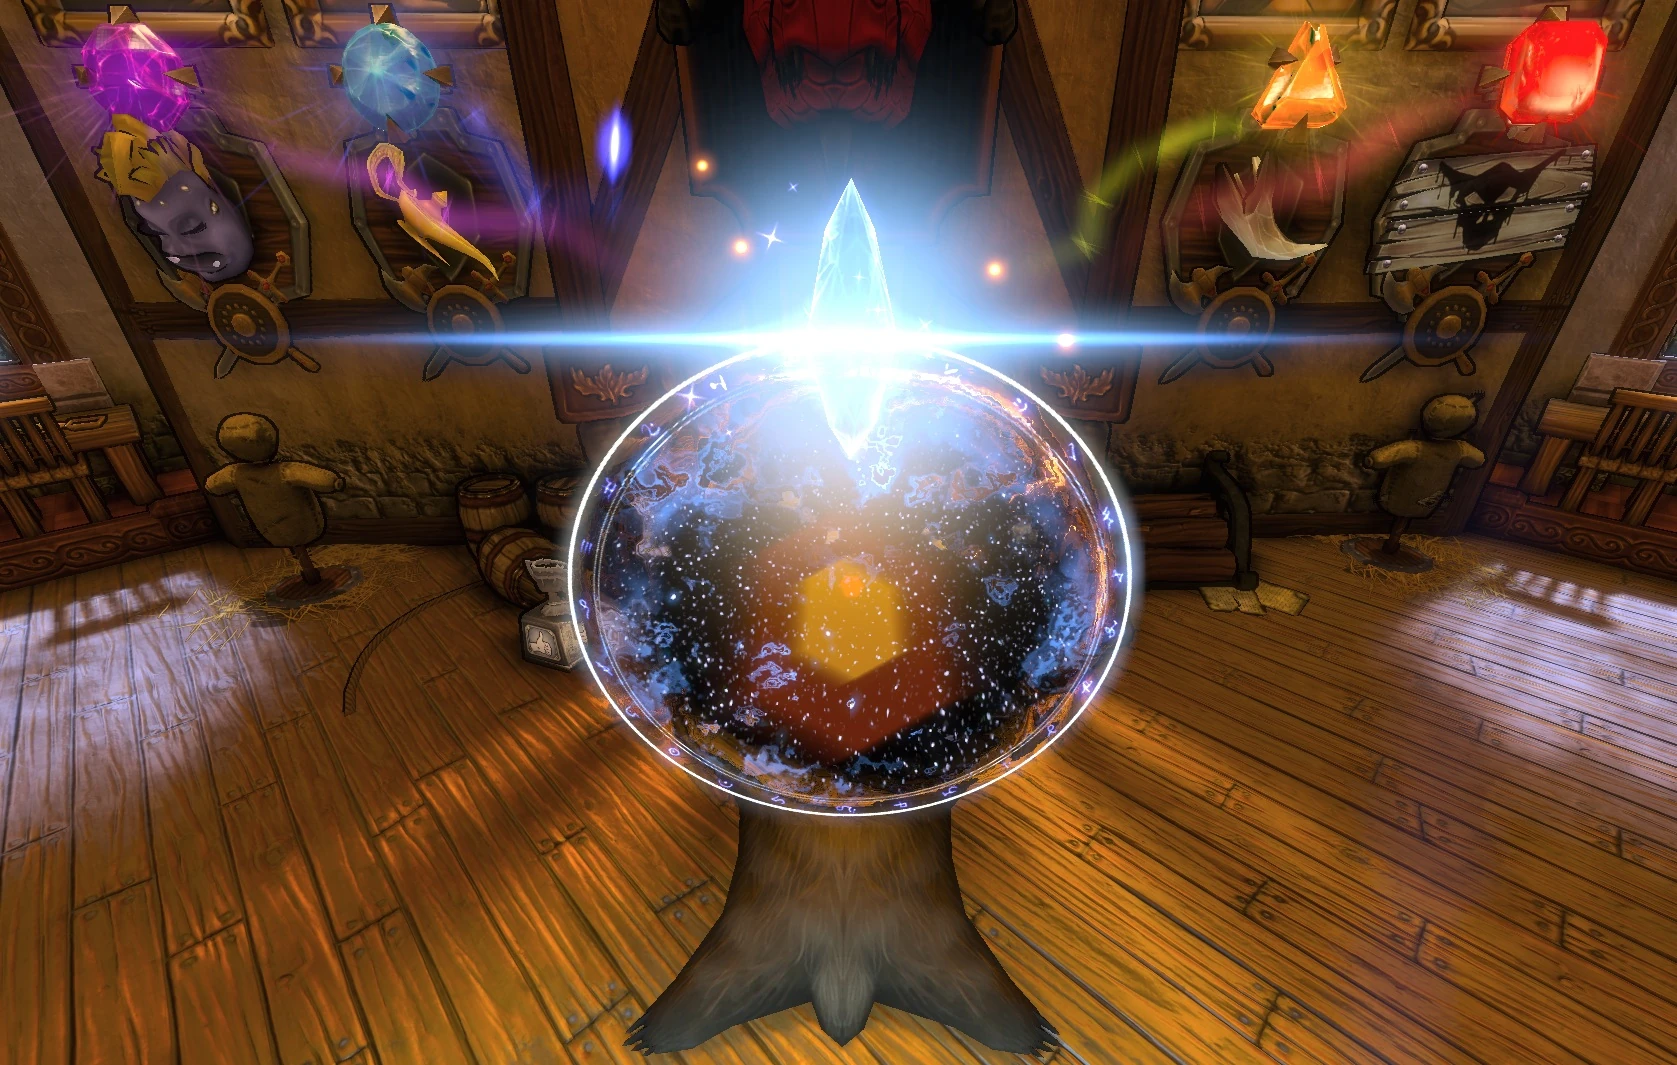
Spawn a Portal to the Crystalline Dimension by Collecting All Four Lost Eternia Shards!
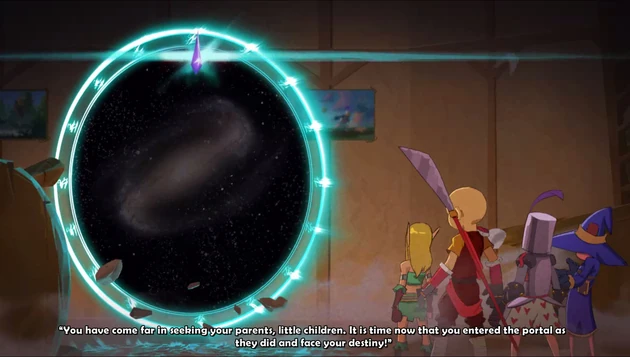
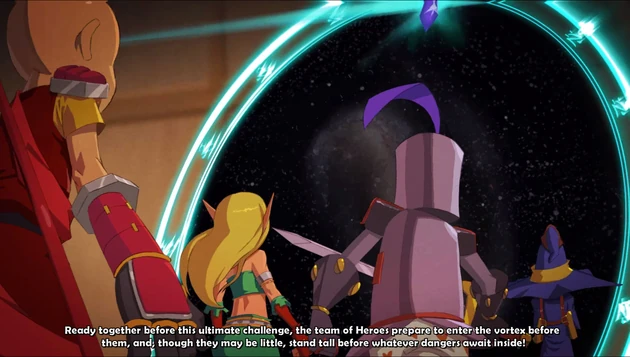
The Crystalline Dimension is a mysterious world located in another dimension, far from Etheria itself. It is the location of the captured legendary heroes, the heroes' parents, as well as the Old One.
Crystalline versions of every non-boss enemy that is regularly encountered on Nightmare spawn here, regardless of difficulty level. The world also features crystallized versions of the original four heroes and three bosses. In the Boss Rush challenge, two Spider Queens, a Genie King, and two Krakens are also fought in sequence.
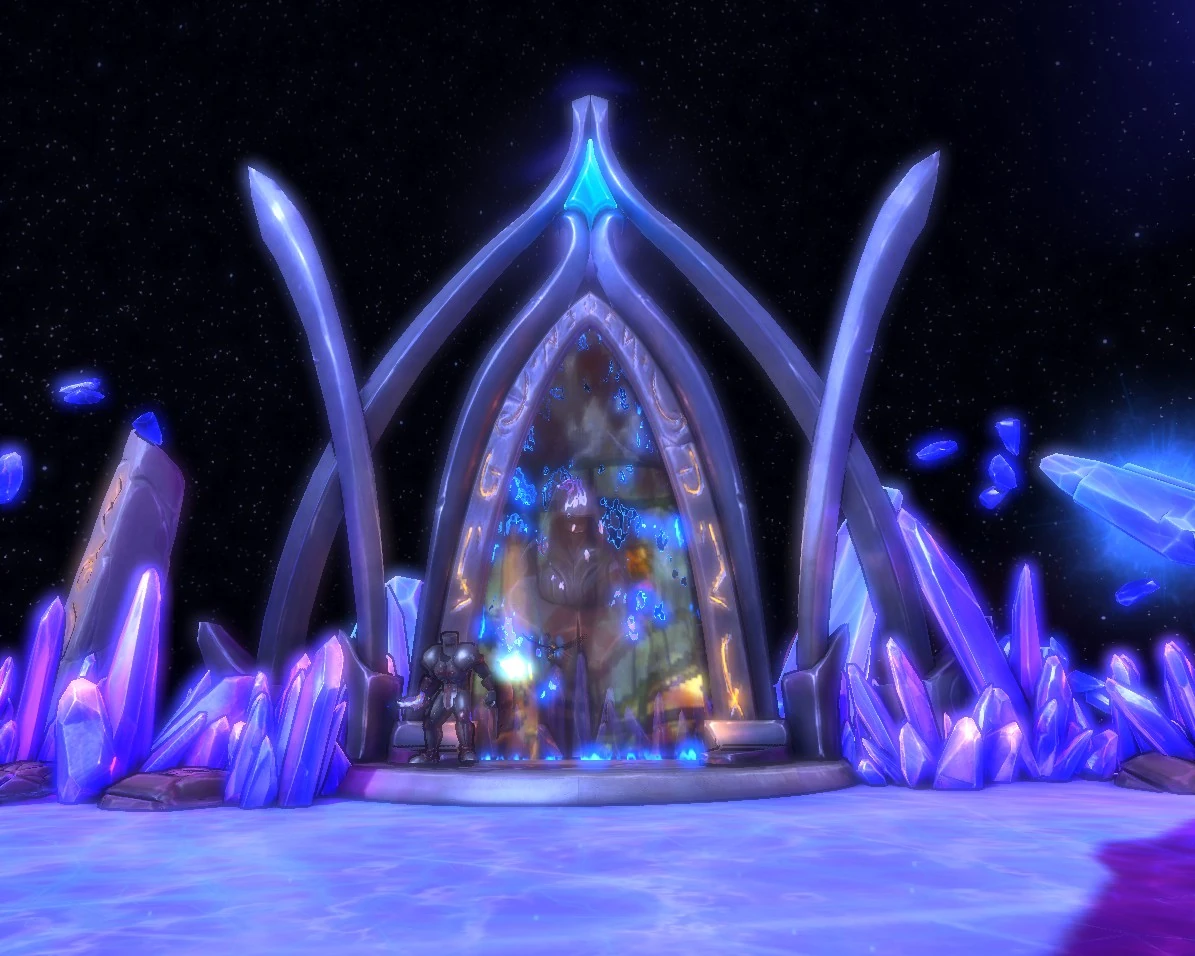
Portal from the crystalline dimension
The main mission is divided into five fields which all must be cleared in succession, within a time limit of 86:30 (86 minutes and 30 seconds) and a limited number of lives. If a player joins the game and then leaves, a life will be lost. Therefore, caution should be taken when hosting public games without hardcore mode enabled.
If at ANY point: a crystal is destroyed, the player(s) run out of lives or time runs out, they will lose and have to restart the mission from the very beginning.
After completing the Crystalline Dimension once, the first part to the Crystalline Resurgence is unlocked. The second and third parts are unlocked after clearing the first. These three challenges take place solely on the first, second and third fields respectively from the original mission.
The Portal
The Crystalline Dimension is accessible once the player has acquired all four Lost Eternia Shards by clearing Mistymire Forest, Moraggo Desert Town, Aquanos, and Sky City, in any order. The mission may be played up to highest shared difficulty level all four maps were completed on. To enter the Crystalline Dimension on Nightmare Hardcore, the four previously mentioned maps must also be completed on Nightmare Hardcore.
When this criteria is met, a portal to the dimension will appear in the host's tavern. The Crystalline Dimension can be entered through the mission setup interface under "Challenges." The host can choose to hide the portal in their tavern from the Options menu. The portal does not have to be shown in order to enter the Crystalline Dimension.
Story
|
Full Story
| ||||||||||||
|---|---|---|---|---|---|---|---|---|---|---|---|---|
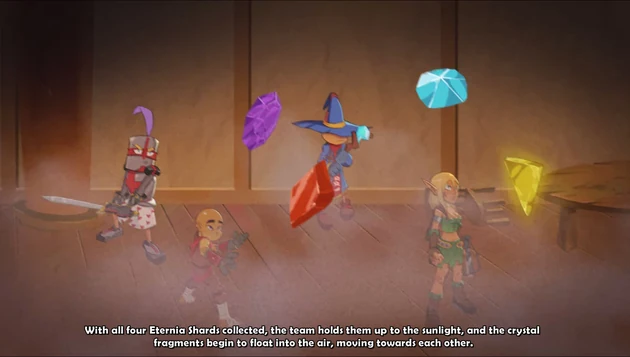
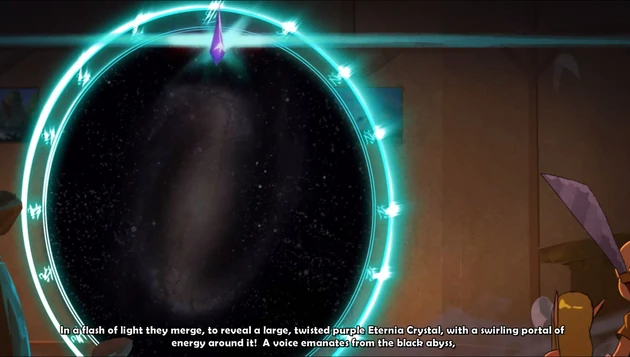
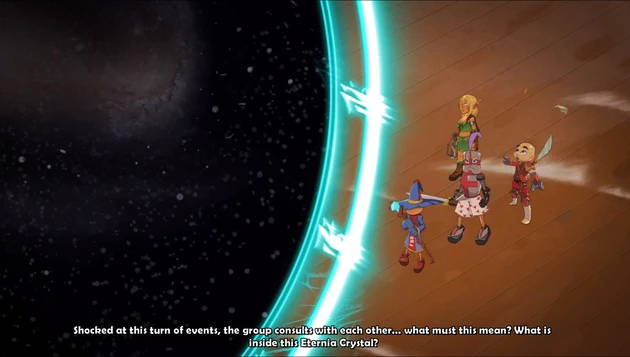
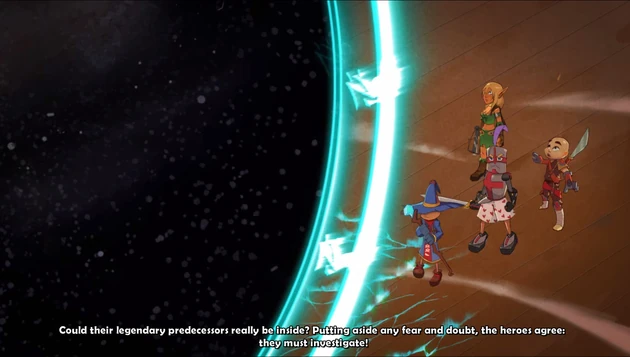
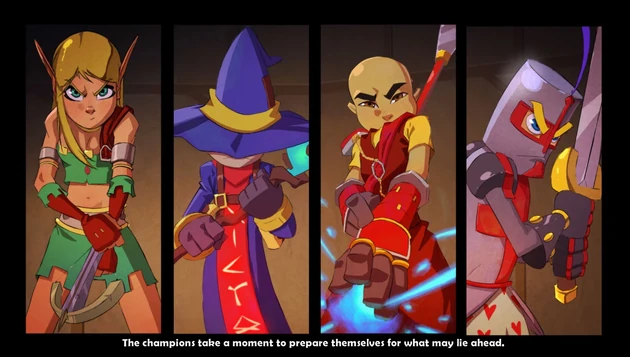
Intro Cinematic
| ||||||||||||
Rewards
On console, two completely random items are rewarded for clearing the mission.
On PC, the rewards for completing the Crystalline Dimension are given per account, per run. This means that a user cannot get more items by bringing multiple heroes that belong to the same account.
One special class weapon is awarded for completing the Crystalline Dimension as the corresponding class (or their counterpart). If a Series EV is used, either the Crystal Gun or Crystal Staff is given. If a Jester or Summoner is used, any one of these weapons will be given.
| Class | Easy-Insane | Nightmare |
|---|---|---|
| Monk | Jade Spear | Eternian Spear |
| Huntress | Crystal Gun | Eternian Energy Cannon |
| Apprentice | Crystal Staff | Eternian Staff |
| Squire or Barbarian | Crystal Blade | Eternian Greatsword |
A Legendary Costume is unlocked for completing the Crystalline Dimension for the first time as the specified class (or their counterpart). The Super Legendary Costume is also unlocked if the mission was done on Nightmare Hardcore.
| Class | Easy-Nightmare | Nightmare Hardcore |
|---|---|---|
| Monk | Legendary Monk | Super Legendary Monk |
| Huntress | Legendary Huntress | Super Legendary Huntress |
| Apprentace | Legendary Apprentace | Super Legendary Apprentace |
| Squire / Barbarian | Legendary Squire | Super Legendary Squire |
Exclusive crystalline accessories are also awarded for completing the mission. Off-host players get two accessories per hero, while the host only gets one accessory per hero.
Achievements
Notes
Which crystalline heroes spawn depends on the character classes each player uses during combat. Their ranged attacks can be bounced back with Reflection Beams.
| Class | Antihero | Abilities |
|---|---|---|
| Apprentice / Adapt / Jester | Crystalline Apprentice | Mana Bomb, Self-Heal |
| Squire / Countess / Barbarian | Crystalline Squire | Circular Slice, Self-Heal |
| Huntress / Ranger / Series EV | Crystalline Huntress | Piercing Shot, Self-Heal |
| Monk / Initiate / Summoner | Crystalline Monk | Melee and Ranged Attacks, Self-Heal |
- The crystalline heroes do not count towards wave completion. They will continue to spawn (and respawn periodically if destroyed) until the wave ends.
- Crystalline heroes cannot damage Eternia Crystals.
- Summoner minions will fight the crystallized enemies, despite him and his minions being native to the Crystalline Dimension.
Mission Progression and Map Details
On fields/stages 1-4, one of the Eternia Crystals contain a captured Legendary Hero. These crystals are taller and have less health than the other crystals. All four maps are vast and open; it is therefore impractical to build physical walls for every possible direction the ground enemies can approach the crystals.
Stage 1 - Legendary Huntress
Template:Map information
Stage 2 - Legendary Monk
Template:Map information
Stage 3 - Legendary Apprentice
Template:Map information
Stage 4 - Legendary Squire and Boss Gauntlet
This is arguably the hardest stage of Crystalline Dimension. Unlike the previous three stages, build time is limited. It is recommended to have multiple players build due to this time constraint. Once the countdown ends, two Demon Lords, two Goblin Mechs, and an Ancient Dragon will spawn, as well as endless enemies. Some of these endless enemies are "Super Orcs" which have much higher stats than regular orcs. On higher difficulties, they can destroy the Eternia Crystal instantly, even if weakened by a Strength Drain Aura or the Initiate's Enemy Drain.
Template:Map information
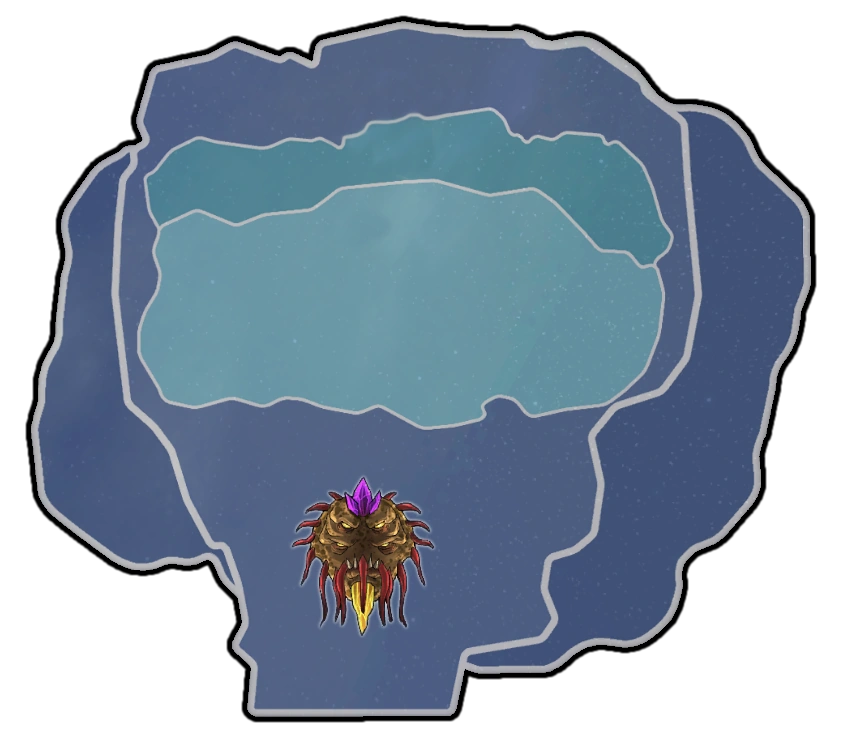
Stage 5 - Old One
The Old One is the final stage of the Crystalline Dimension. This boss fight is like no other. There are three stages to the boss fight: the feet, the chest, and the head. You are only able to damage him directly during the head phase.
Feet Stage
There are two orange crystals to destroy at this stage: one on each foot. Once both are destroyed, a smaller section of the stage will raise up to the chest stage.
Chest Stage
There are three orange crystals to destroy during this stage: one in the chest and one in each palm. These are harder to destroy than the feet crystals because they can only be damaged during certain times. All three crystals will be able to be damaged when the Old One is taunting. Apart from that, the hands may only be damaged in the period after the hand slam and the chest crystal may only be damaged during the chest lasers. Upon the destruction of all three crystals an even smaller section of the stage will be raised to the head section.
Head Stage
This is the stage you can attack the Old One directly. After taking 1/3 of his health in damage, the stage will reset back to the feet stage where you will need to repeat the process until the Old One is defeated. It is worthwhile to note that a strong, single-damage ability (ex: the Barbarian's Hawk Stance) can bypass the damage-per-stage limit allowing you to be able to defeat The Old One in one or two head stages instead of the usual three.
 |
Map Information | ||||||||||||||
|---|---|---|---|---|---|---|---|---|---|---|---|---|---|---|---|
| Number of Crystals | Number of Waves | Defense Units | Starting Mana | ||||||||||||
| 1 | 8 | 0 | |||||||||||||
| Hazards | Mana Per Round | ||||||||||||||
| Falling Off Map and The Old One | 0 | ||||||||||||||
| Location | |||||||||||||||
| Crystalline Dimension | |||||||||||||||
| Spawn List | |||||||||||||||
|
| |||||||||||||||
|
| |||||||||||||||
| Bosses | |||||||||||||||
|
| |||||||||||||||
| Rewards | |||||||||||||||
| PC | |||||||||||||||
| Easy | Medium | Hard | Insane | Nightmare | |||||||||||
| Squire & Countess Crystal Blade Apprentice & Adept Crystal Staff Huntress & Ranger Crystal Gun Monk & Initiate Jade Spear |
Squire & Countess Crystal Blade Apprentice & Adept Crystal Staff Huntress & Ranger Crystal Gun Monk & Initiate Jade Spear |
Squire & Countess Crystal Blade Apprentice & Adept Crystal Staff Huntress & Ranger Crystal Gun Monk & Initiate Jade Spear |
Squire & Countess Crystal Blade Apprentice & Adept Crystal Staff Huntress & Ranger Crystal Gun Monk & Initiate Jade Spear |
Squire & Countess Eternian Greatsword Apprentice & Adept Eternian Staff Huntress & Ranger Eternian Energy Cannon Monk & Initiate Eternian Spear | |||||||||||
| Survival Rewards | |||||||||||||||
| N/A | |||||||||||||||
Tips
- Defenses can be placed on top of terrestrial crystals. Some extend high enough to where ogres and antiheroes won't be able to reach or never target.
- The stone circle below each Eternia Crystal represents the approximate area ogres can hit them. Place your physical defenses outside these circles to avoid indirect core damage.
- Only Crystalline Apprentices will spawn if all players, including those who can't spawn in, use either Jesters, Apprentices, or Adepts in combat. Enemy Apprentices are relatively harmless to defenses. Their shots do neglectable damage under a Strength Drain Aura. They will also not cast Mana Bomb to attack defenses directly.
- On Fields 1-3, there are non-bottomless pits most heroes cannot escape from without dying. Instead of knocking yourself out from a Hardcore-enabled run, wait for a teammate to enter the portal to the next field.
- Before you proceed to the fourth stage (the Boss Gauntlet), stock up the builders you're going to use with mana to save time dropping and picking up mana. This'll also prevent other players from taking the mana you need.